Ever had that sinking feeling when you hear the scrape of your precious rims against a brutal curb? We’ve all been there, and it’s more heartbreaking as dropping your favorite ice cream cone on a hot day. But what if I told you that curb rash is not a life sentence for your wheels, and you can restore them back to their former glory?
Curb Rash Repair
- Identify the extent of the curb rash on your car’s rims.
- Decide on a professional repair or a DIY approach based on the severity of the damage.
- If opting for a DIY repair, gather your repair kit, including sandpaper, spray primer, paint, and clear coat.
- Clean, sand, and prime the damaged area.
- Apply paint matching your rim’s color and seal with a clear coat.
- Let the rim dry to restore its look and function.
In this article, we’ll guide you through the A to Z of curb rash repair, from understanding what it is and why it’s worth fixing, to professional and DIY repair options, and even how to prevent future curb rash. Strap in for an informative journey that will give your wheels a new lease of life!
Let’s take a closer look.
Understanding Curb Rash
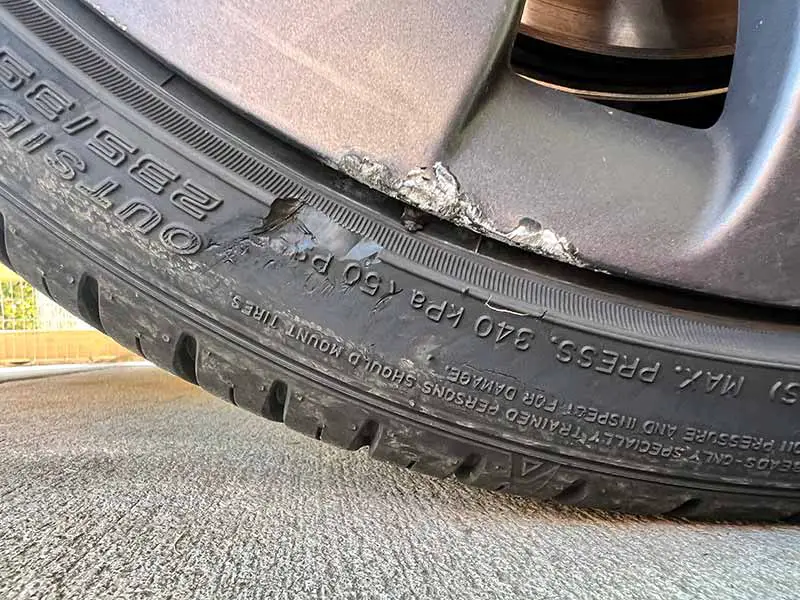
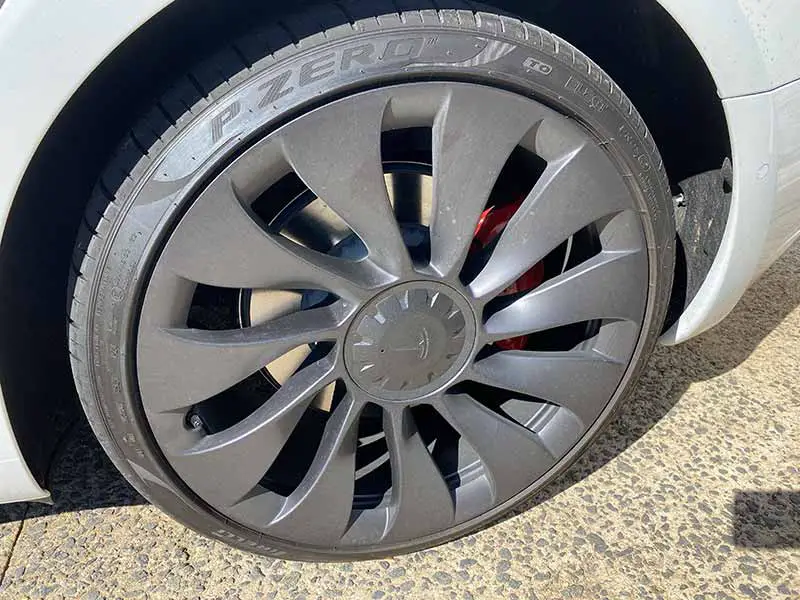
In simple terms, curb rash is like a battle scar for your car’s wheels. It’s the ugly scratches and scuffs that appear on your rims (the shiny outer part of the wheel where your tire attaches) when they scrape against a curb or similar hard surfaces. These scars are more than just cosmetic, they can lead to other issues like rust, if left untreated.
How Does It Happen?
So, how does this pesky curb rash sneak up on us? The usual suspect is, of course, hitting curbs while parking or taking tight turns. We all have those ‘oops’ moments, and sometimes our wheels pay the price. It’s a common blunder that most car owners can relate to.
But remember, even a small brush with the curb can lead to scuffs and scratches. We’re dealing with delicate materials here. Your rims, especially if they’re alloy wheels (a mix of metals, including aluminum), aren’t invincible.
Different Rims, Different Scenarios
Now, not all rims are created equal. The type of rim you have can influence the kind of curb rash you might see. Let’s look at a couple of common types:
- Aluminum Rims: Aluminum, being a softer metal, can really bear the brunt of a curb encounter. This often leads to more noticeable and deeper scrapes.
- Black Rims: For black rims, it’s more about aesthetics. The scrapes can strip away the black coating, revealing the shiny metal underneath, which can be a bit of an eyesore.
Is Curb Rash Worth Fixing?
So now that we’ve got the scoop on what curb rash is and how it happens, the burning question is: “Is it worth fixing?” To some, it might seem like just another chore, a bit of unnecessary fuss. But let’s break it down, and you’ll see that repairing curb rash isn’t just for car enthusiasts or those of us who like our wheels shiny and pristine. It’s an essential part of car maintenance for anyone who owns a vehicle.
Beyond Just Good Looks
First things first, curb rash isn’t pretty. Fixing it brings back that fresh-off-the-lot look we all love. But the reasons to repair curb rash go beyond aesthetics. Here’s why:
- Long-term Wheel Health: Leaving curb rash untreated can expose your rims to the elements. Over time, this can lead to rust, which weakens the rim and can be much costlier to fix.
- Vehicle Value: If you plan to sell or trade in your car in the future, curb rash can bring down its value. Prospective buyers don’t want the added work of repairing rims, so a clean, curb-rash-free vehicle could fetch you a better price.
Counting the Cost
The cost to repair curb rash can vary. A professional repair shop might charge anything from $50 to $150 per wheel, depending on the severity of the damage. But, hey, don’t let those numbers scare you!
You have another option: DIY repair. For less severe curb rash, a simple at-home repair kit could be all you need. These usually cost between $20 and $50 and come with instructions that make the process easier than baking a cake.
Professional Curb Rash Repair
At a professional repair shop, expert technicians work their magic to bring your wheels back to life. They follow a tried-and-true process:
- Inspection: The technicians start by inspecting the damaged rim. They take a close look at the scratches and assess the extent of the curb rash.
- Repair: After the assessment, they get down to business. Using specialized tools, they gently sand down the area to remove the rash.
- Priming: Once the surface is smooth, they apply a thin layer of spray primer. This step ensures that the paint adheres properly to the rim.
- Painting and Clear Coat: After the primer dries, the technicians carefully paint the rim to match its original color. Lastly, they seal the paint with a clear coat for a glossy finish and added protection.
- Drying and Mounting: The rim is then allowed to dry before being mounted back onto your car, looking as good as new.
When to Choose a Repair Shop
Now, you might be asking yourself, “When should I choose a professional repair shop over a DIY repair?” Well, for minor scratches and scuffs, a DIY repair could do the trick. But when it comes to deep scratches or if there are multiple damaged areas, a repair shop is usually the better option. These guys are pros and can handle more complex damage with ease.

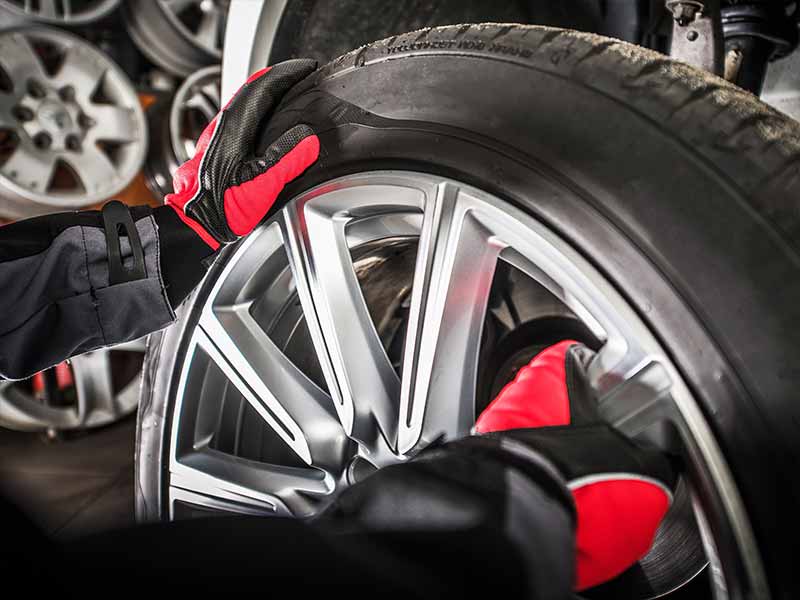
Wheel Repair Kit
DIY Curb Rash Repair
If your curb rash is minor and you’re feeling a bit adventurous, why not roll up your sleeves and give DIY repair a try? Not only is it a more budget-friendly option, but it’s also a great way to learn more about your car. Plus, there’s something satisfying about fixing things with your own two hands, right?
The Tools of the Trade
Before we begin, let’s gather our tools. Think of it as preparing for a fun crafting project. You’ll need:
- A good quality sandpaper
- Spray primer
- Paint that matches your rim
- Clear coat
- A clean cloth
- Masking tape
- Safety glasses and gloves
You can usually find these items in a curb rash repair kit, which can be bought online or at a local auto parts store.
DIY Repair: Step by Step
Once you’ve got your tools, it’s time to get to work! Don’t worry; I’ll guide you through the process. Just remember to take your time and have patience — Rome wasn’t built in a day!
- Cleaning: First, clean the damaged area thoroughly with a clean cloth. This will remove any dirt or dust that could interfere with the repair.
- Sanding: Next, use your sandpaper to gently sand the rash. This step might require some elbow grease, but it’s essential for a smooth finish. Keep sanding until the affected area feels smooth to touch.
- Priming: Now that the surface is smooth, apply a thin layer of spray primer. Remember to mask off the area around the rim to avoid getting primer on your tire.
- Painting: Once the primer is dry, it’s time for the paint. Apply the paint that matches your rim in light, even strokes. Be patient and let it dry completely.
- Clear Coat Application: The final step is to apply the clear coat, which will give your rim a shiny finish and protect the paint. After the clear coat is dry, your rim should look good as new!
Remember, safety first! Always wear your safety glasses and gloves to protect yourself during the process.

Rim Blades Can Hide Existing Damage And Prevent Future Damage
Preventing Future Curb Rash
Keeping your rims safe from curb rash is all about careful driving and being mindful of a few key things. Here’s how you can keep those wheels shiny:
- Slow and Steady: Take it slow when parking or making tight turns, especially in unfamiliar areas.
- Maintain Your Distance: Try to keep a safe distance from curbs and other hard objects when parking. Even if it means you have to walk a little farther to the store entrance, your rims will thank you!
- Get to Know Your Car: Every car has its unique dimensions. Understanding the size of your car, including the wheelbase, can help you make better judgments when driving close to curbs.
- Practice Makes Perfect: If you’re a new driver or have just switched to a new vehicle, take some time to practice parking and maneuvering in a safe, open space.
Arm Your Rims with Curb Rash Protectors
In addition to these driving tips, another option to prevent curb rash is to use curb rash protectors. Think of them as armor for your rims. They’re typically made of durable materials that can take a hit, protecting your rims from any contact with curbs. They come in various sizes and colors, and can be a cost-effective way to prevent future curb rash.
Resources
Below are some links you may find helpful when learning about tires
Final Thoughts
Let’s wrap everything up and revisit what we’ve learned. Here’s a quick recap of what we’ve discussed:
- Curb Rash Explained: Curb rash is the damage that occurs to your rims when they scrape against curbs or similar hard surfaces. Both aluminum and black rims can get it, and it’s a common issue for most car owners.
- Repairing Curb Rash Matters: Repairing curb rash is about more than just aesthetics. It ensures long-term wheel health and can boost your vehicle’s value.
- Professional vs. DIY Repair: While professional repair shops can handle severe damage expertly, DIY repair is a cost-effective option for minor scrapes and scratches. Both methods involve sanding the damaged area, priming, painting, and sealing with a clear coat.
- Prevention is Key: You can prevent future curb rash by driving carefully, especially when parking or making tight turns. Additionally, using curb rash protectors can provide an extra layer of defense for your rims.
Remember, it’s crucial to take care of your wheels as they play a key role in the overall performance and safety of your vehicle. Taking the time to fix curb rash and prevent future occurrences is an investment worth making.
Good luck and happy motoring.