Did you recently discover your car’s tires wearing unevenly or your vehicle tending to pull to one side while driving straight? These could be signs that your vehicle’s camber needs adjustment. Learning to adjust camber correctly is not just a great skill to have, but it’s also a fantastic way to maintain your vehicle’s performance and increase the lifespan of your tires.
How To Adjust Camber
Adjusting camber involves altering the tilt of your vehicle’s wheels. You can adjust it at home using tools like a camber gauge, a level, and specific hardware such as camber bolts or camber plates, depending on your vehicle’s suspension design.
In this article, we’ll delve into the concept of camber, discussing its importance, how to adjust it correctly at home, and its impact on driving performance. We’ll also touch on the role of specific components like camber bolts and camber plates, and how different camber settings affect tire wear and driving safety.
Let’s take a closer look.
What Is Camber?
Camber is a term you might not hear every day, but if you’ve been around cars and trucks, you’ve probably seen it in action. Simply put, camber is the angle that your tires make with the road when viewed from the front of the vehicle.
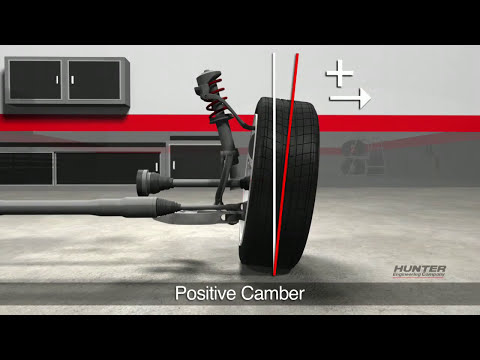
To visualize it, think about looking at your car from the front. If the tops of the tires lean towards the car, that’s negative camber. If they lean away from the car, that’s positive camber. If they’re straight up and down, you’ve got zero camber. Easy enough, right?
But don’t be fooled. This simple concept has a big impact on how your car drives and how your tires wear down.
Positive Camber Vs. Negative Camber
Let’s dig a little deeper into the world of camber. You now know what positive and negative camber look like, but how do they affect your car’s performance?

Positive Camber
Positive camber means the tops of the tires are tilted away from the vehicle. Here’s what you need to know:
- Advantages: Positive camber can make your vehicle easier to steer. That’s because when your wheels are turned, the tire that’s doing the turning gets a better grip on the road.
- Disadvantages: Too much positive camber can cause the outer edge of your tires to wear down faster. It can also reduce your vehicle’s grip on the road, especially when cornering.

Negative Camber
Negative camber is when the tops of your tires lean towards your vehicle. Here are the pros and cons:
- Advantages: Negative camber can help your tires grip the road better when you’re zooming around corners. That’s because when your vehicle leans to the side during a turn, the tire remains more evenly in contact with the road.
- Disadvantages: If you have too much negative camber, the inner edges of your tires can wear out faster. It can also decrease straight line grip, making your vehicle feel less stable when you’re driving straight ahead.
How Camber Impacts Your Ride
Camber doesn’t just affect how your car looks, it impacts how it drives and how your tires wear down.
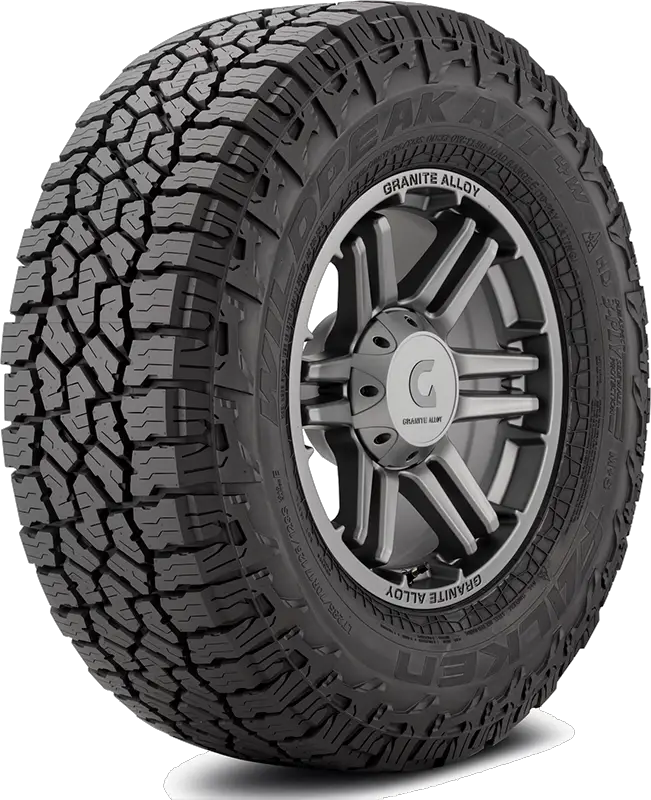
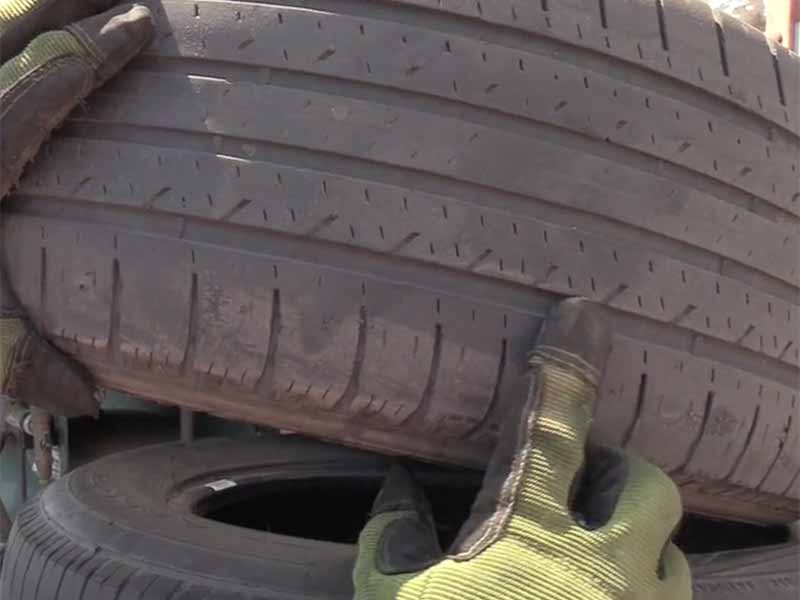
- Tire Wear: If your camber is off, your tires might wear down unevenly. Too much positive camber can cause the outside of your tires to wear down quickly. Too much negative camber can do the same to the inside of your tires.
- Cornering Grip: Ever taken a turn at high speed? Your camber has a lot to do with how well your vehicle sticks to the road. Negative camber can help improve your vehicle’s cornering grip by keeping more of the tire in contact with the road during a turn.
- Straight Line Grip: When driving straight ahead, you want as much of your tire touching the road as possible. This is where positive camber can be a good thing. But remember, too much of it can decrease your vehicle’s grip on the road.
Tools You’ll Need to Adjust Camber
Before diving into the nuts and bolts of camber adjustment, you’ll need to gather some tools. Each of these plays a crucial role in ensuring your camber adjustments are precise and effective.
Here’s the toolkit:
- Camber Gauge: This tool measures the camber angle of your vehicle’s wheels. It’s your go-to gadget to know just how much your tires are tilting.
- Level: A level helps ensure that your measurements are accurate. Remember, precision is key when dealing with wheel alignment.
- Wrench Set: A good set of wrenches is essential for adjusting the bolts and other components that control camber.
- Jack and Jack Stands: You’ll need these to safely lift your vehicle off the ground and ensure it stays steady while you work.
Remember, always prioritize your safety. If you’re not confident using these tools, it’s a good idea to seek professional help.

Camber Gauge
A Closer Look at Camber Bolts and Plates
In the world of camber adjustment, two key players deserve special attention: camber bolts and camber plates.
Camber Bolts
Camber bolts, also known as eccentric bolts, are used to adjust camber on many vehicles. These special bolts have a lobe or “eccentric” on them that alters camber when turned. Here’s what you need to know:
- Ease of Use: Camber bolts are relatively easy to use, making them a popular choice for camber adjustment. A turn of the bolt changes the camber angle.
- Compatibility: Camber bolts are commonly used in vehicles with MacPherson strut suspensions and lower control arms. They may not be suitable for all types of vehicles.

Camber Bolts – Kit
Camber Plates
Camber plates offer another way to adjust camber. They’re typically used in performance vehicles or those with modified suspensions. Here are the key points:
- Performance Advantage: Camber plates allow for a wider range of camber adjustment, which can be beneficial for racing or high-performance driving.
- Complex Installation: Installing and adjusting camber plates can be more complex than using camber bolts. They often require professional installation and adjustment.

Camber Plates
Exploring Additional Methods for Camber Adjustment
While camber bolts and plates are common tools used to adjust camber, there are other methods you can employ to fine-tune your vehicle’s alignment. Let’s dig into the world of adjustable control arms and camber bushings:
Adjustable Control Arms
Control arms are key components of your vehicle’s suspension system. They connect the chassis to the wheel hubs and help set your vehicle’s alignment angles, including camber:
- How They Work: Adjustable control arms allow for precise camber adjustment. By changing the length of the control arm, you can manipulate the camber angle. These are particularly useful on vehicles where camber bolts or plates aren’t an option.
- Considerations: When using adjustable control arms, remember that altering their length will also affect other alignment parameters, like caster. Therefore, it’s crucial to get a full alignment check after adjusting them.
Adjustable Camber Bushings
Another method of adjusting camber is by using adjustable camber bushings. These bushings, typically made of rubber or polyurethane, are part of the suspension system that connect the control arms to the chassis:
- How They Work: Adjustable camber bushings work by altering the angle at which the control arm is attached to the chassis. By changing this angle, you can adjust the camber. These bushings are designed with off-center holes, allowing for precise adjustment.
- Considerations: As with any other suspension modification, adjusting camber bushings will likely affect other alignment parameters. Always get a comprehensive alignment check after making any changes.
While these methods require more effort and mechanical understanding than using camber bolts or plates, they offer a wider range of adjustment.

A Step-By-Step Guide to Adjusting Camber
Now that you have your tools and know a bit more about camber, let’s get down to business: adjusting your vehicle’s camber. Remember, this process can be complex, and if you’re not comfortable doing it yourself, it’s always best to seek professional help. If you’re up for the task, here’s how you do it:
Adjusting Camber with a Level
Using a level for camber adjustment is a simple and cost-effective method, especially for small adjustments.
- Prepare Your Vehicle: Park your vehicle on a level surface and engage the parking brake. Use your jack to lift the vehicle and secure it with jack stands.
- Measure the Current Camber Angle: Attach the level to the wheel. The bubble in the level will help you determine the current camber angle.
- Adjust the Camber: If you need to adjust the camber, loosen the bolts on the upper and lower control arms with your wrench. Move the top of the tire inward for more negative camber, or outward for more positive camber.
- Re-check the Camber: Once you’ve made your adjustments, reattach the level to the wheel and check the bubble. Adjust as necessary until you reach the desired camber angle.
- Secure the Bolts: When you’re happy with your camber angle, tighten the control arm bolts to secure the adjustment.

Adjusting Camber with Camber Bolts
If your vehicle has camber bolts, adjusting the camber is a slightly different process:
- Lift the Vehicle: As before, park your vehicle on a level surface, engage the parking brake, lift your vehicle with a jack, and secure it with jack stands.
- Loosen the Camber Bolt: Locate the camber bolt on the lower control arm or MacPherson strut. Loosen it slightly with your wrench.
- Adjust the Camber: To adjust the camber, rotate the camber bolt. The eccentric on the bolt will push the strut assembly in or out, changing the camber angle.
- Check the Camber: Use your camber gauge to check the new camber angle. If it’s not yet right, adjust the bolt again until you achieve the desired angle.
- Tighten the Camber Bolt: When you’re satisfied with your adjustment, tighten the camber bolt to lock in your new camber angle.
Adjusting Camber Without Camber Bolts
What if your vehicle doesn’t have camber bolts? You can still adjust the camber, but it might require a little more work:
- Install a Camber Kit: If your vehicle doesn’t have built-in camber adjustment, you’ll need to install a camber kit. This usually includes new control arms, bushings, and/or brackets that allow for camber adjustment. This is a complex task that often requires professional installation.
- Follow the Kit Instructions: Once the camber kit is installed, you can adjust the camber by following the kit manufacturer’s instructions.

Special Considerations When Adjusting Camber
Adjusting camber is not just about wrenches, bolts, and gauges. You have to consider the entire suspension system, and aim for balance and uniformity in your adjustments. Here are some key points to bear in mind:
The Role of Suspension Components
Camber is just one aspect of your vehicle’s overall wheel alignment. It works together with other suspension components, like control arms and strut assemblies, to provide a smooth, stable ride. When adjusting camber:
- Remember the Control Arms: Your vehicle’s control arms, both upper and lower, play a key role in setting camber. Adjusting these parts will change the angle of your wheels.
- Consider Your Suspension Type: Vehicles with a MacPherson strut suspension often use camber bolts for easy camber adjustment. On the other hand, some vehicles might require camber kits for any camber change.
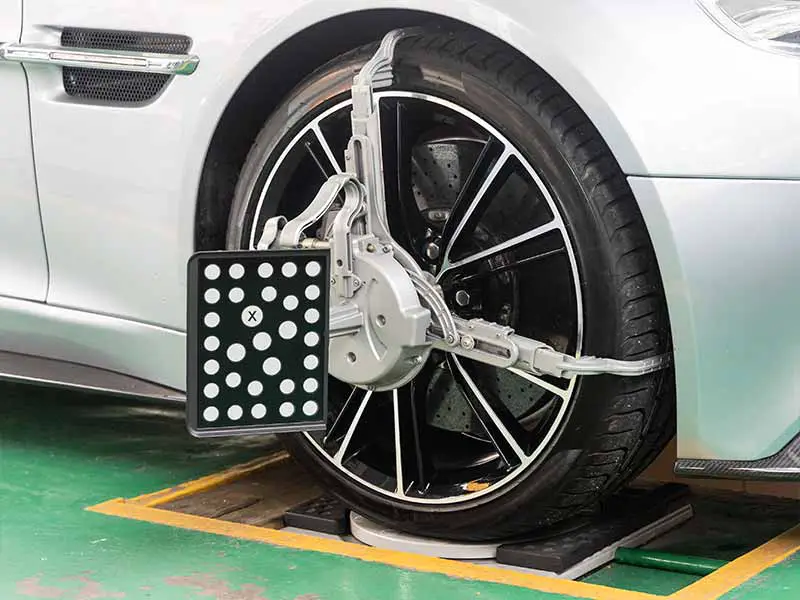
- Understand the Impact: Changing your camber can affect other parts of your suspension. Always be aware of this and consider a full alignment check after adjusting camber.
Ensuring the Same Camber Angle on Both Wheels
Uniformity is important when it comes to wheel alignment. Your vehicle will handle best when both wheels on the same axle have the same camber angle:
- Measure Carefully: Always use your camber gauge to check both wheels. Even if they look similar, a small difference in angle can lead to uneven tire wear or handling issues.
- Adjust as Needed: If one wheel has more negative or positive camber than the other, adjust it until both wheels match.
Setting Zero Camber or Adding More Negative Camber
Different driving conditions call for different camber settings. Whether you want zero camber for a balanced tire wear, or more negative camber for improved cornering, knowing how to set your camber can enhance your driving experience:
- Zero Camber: For even tire wear and straight-line stability, aim for zero camber. This means your wheels are perfectly vertical when viewed from the front.
- More Negative Camber: If you need better cornering grip, like for racing or spirited driving, more negative camber can help. But remember, this can also increase tire wear and decrease straight-line grip.
Consequences of Incorrect Camber Adjustment
Now, you might be thinking, what’s the big deal if your camber isn’t quite right? The truth is, incorrect camber can have some serious consequences for your vehicle and your driving experience. Here’s what can happen:
Rapid or Uneven Tire Wear
If your camber angle is off, your tires could start wearing down faster than they should, and the wear might not be even:
- Positive Camber Issues: Too much positive camber can lead to rapid wear on the outside of your tires. This means you’ll need to replace your tires sooner than expected.
- Negative Camber Issues: Too much negative camber, on the other hand, can cause the inside of your tires to wear down quickly.
Remember, tires are a crucial safety component of your vehicle. Worn-out tires can decrease your vehicle’s grip on the road, increasing the risk of a blowout or accident.
Reduced Grip and Handling Issues
Your camber settings have a direct impact on your vehicle’s handling. If it’s not adjusted correctly, you could start noticing some problems:
- Cornering Grip: If your vehicle has too much positive camber, it might not grip the road well during cornering. This could make your vehicle feel unstable during turns.
- Straight Line Grip: Too much negative camber can reduce straight-line grip, making your vehicle feel twitchy or unstable when you’re driving straight ahead.
Always be aware of how your vehicle is handling. If something feels off, it could be a sign that your camber needs adjustment.
Increased Risk of Suspension Damage
Finally, incorrect camber can put extra strain on your suspension components. Over time, this can lead to premature wear and tear or even damage:
- Control Arm Strain: The control arms help hold your wheel at the right angle. If your camber is off, these components could experience additional strain.
- Strut and Shock Wear: Your struts and shocks absorb bumps in the road. Incorrect camber can make these parts work harder, leading to faster wear.
Remember, prevention is always better than cure. Regularly check your camber and other alignment settings to keep your vehicle running smoothly and safely.
Resources
Below are some links you may find helpful when learning about tires
- How to adjust camber angle: Front and rear – Low Offset
- Wheel alignment: How to adjust camber – Live About
Final Thoughts
This seemingly simple angle has a profound impact on your driving experience, affecting everything from tire wear to handling performance. While it may seem a daunting task, with the right tools, a bit of knowledge, and some patience, you can adjust your camber at home, providing a great way to tailor your vehicle’s behavior to your needs.
Remember, the key is balance. Too much positive or negative camber can lead to rapid tire wear and handling issues, while a balanced setup can enhance cornering grip and overall stability.
Good luck and happy motoring.